Setting up a Project - LinkWare Live
LinkWare Live has a guided project setup menu. From the LinkWare Live main dashboard, click NEW PROJECT in the top right corner.
Étape 1 : Name and ADD the Project.
Project Name is the only required field.
You can only have 29 characters total for the combined Project/Subproject names together. This limit is set by the number of characters the Versiv display can accommodate.
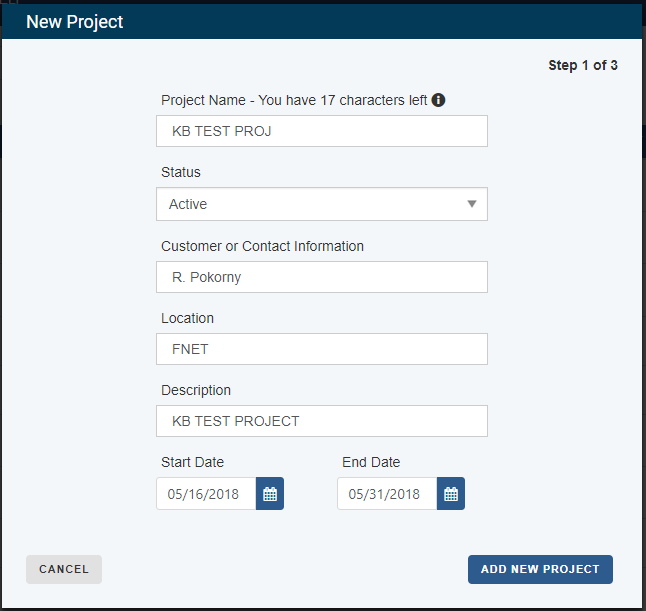
Click ADD NEW PROJECT
Étape 2 : Create and Save the Test Configuration
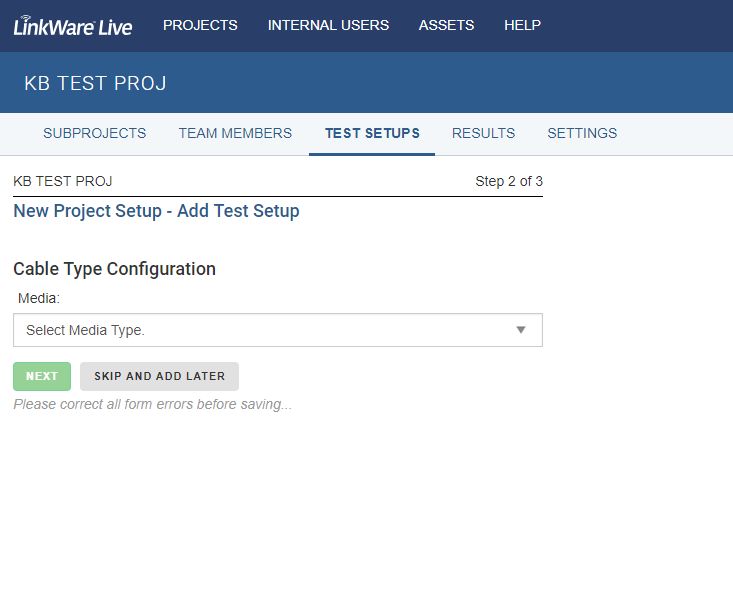
When you select the Media Type, other selections become available for the Test Setup configuration.
You must enter a Configuration Name.
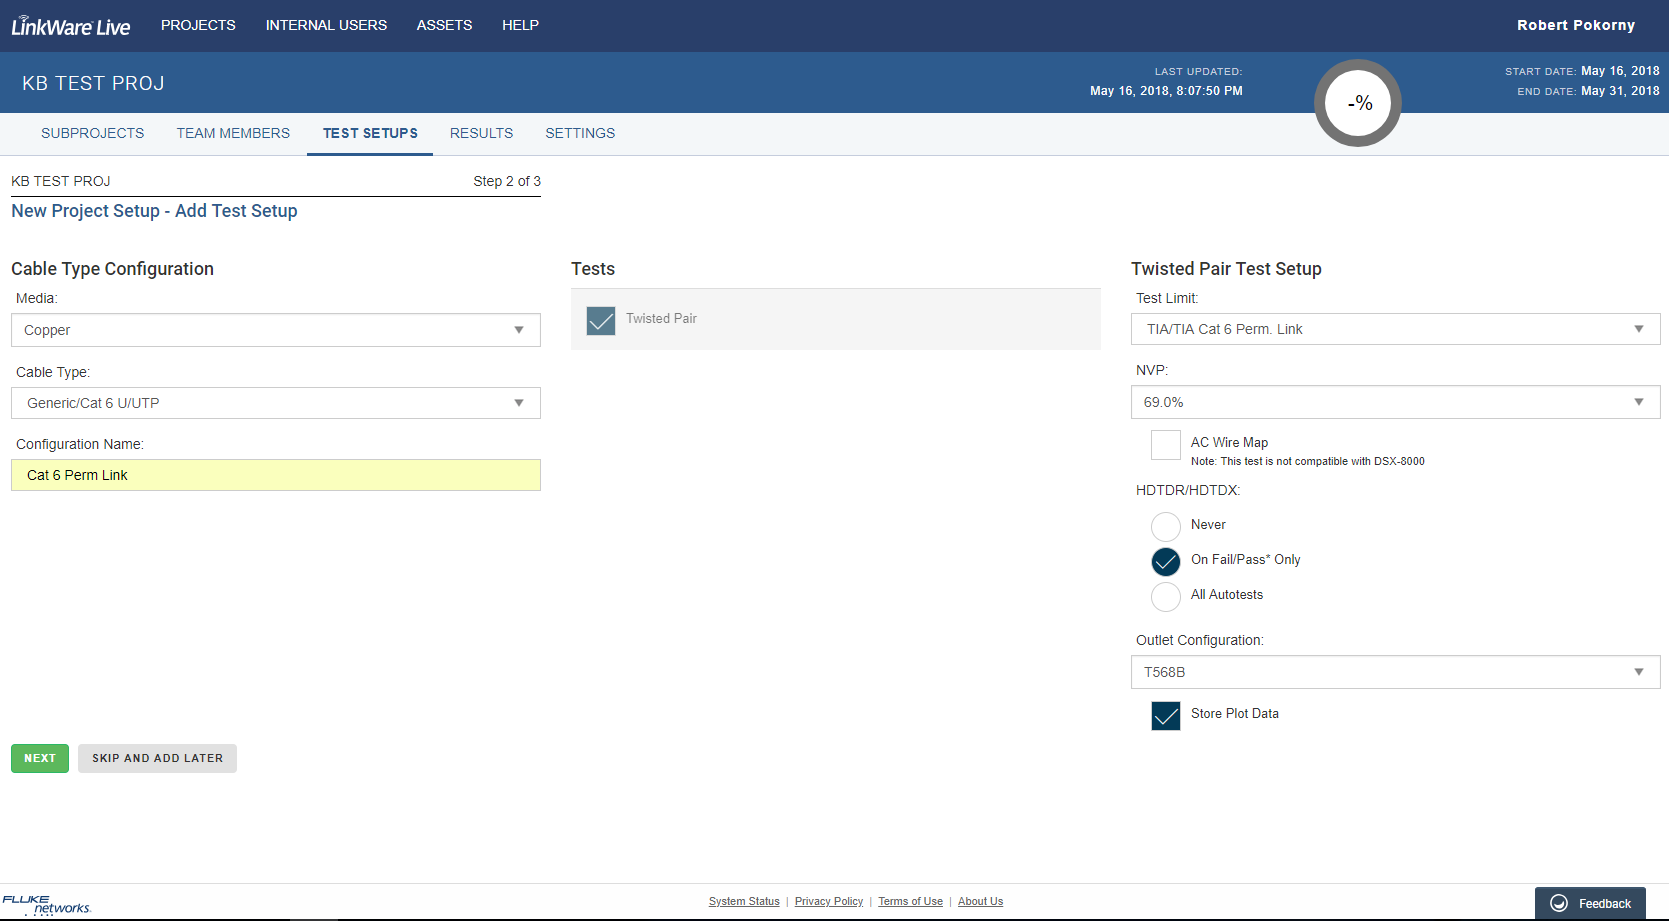
Make your selections and click NEXT.
Étape 3 : Add New Cable IDs and SubProject
For more information on the use of SubProjects, click here.
If you are using a SubProject, it is better to ADD SUBPROJECT before you add Cable IDs.
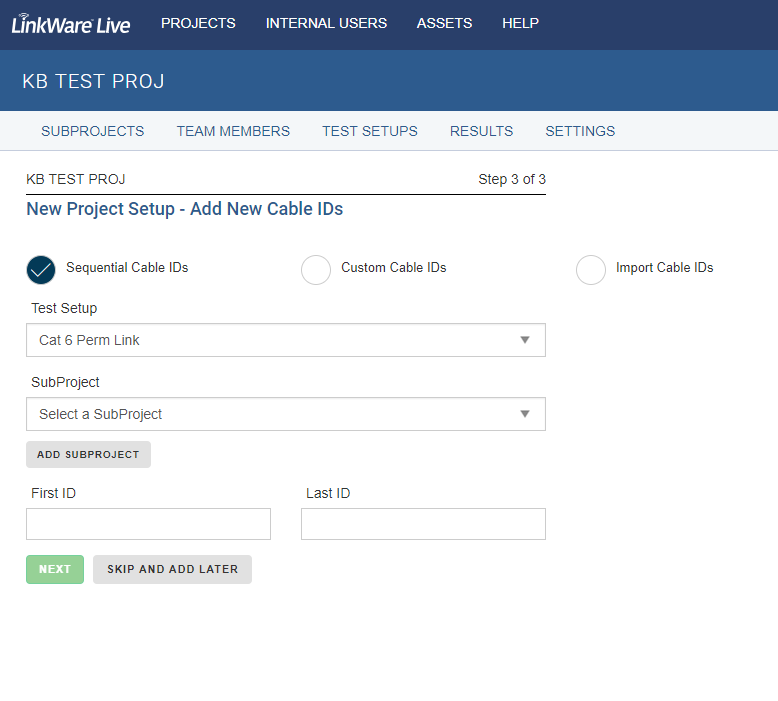
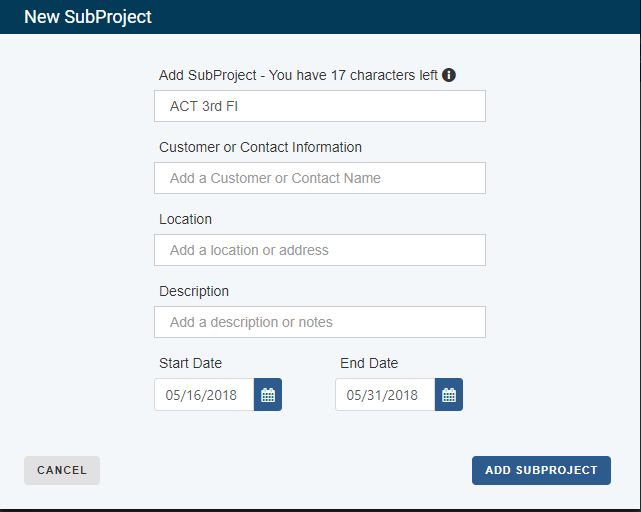
Let's make a SubProject called ACT 3rd FL
Click ADD SUBPROJECT, make your selections (name and other fields), then click ADD SUBPROJECT
Select your newly created SubProject in the SubProject dropdown
Add a Cable ID Sequence or import a list from an Excel file, and click NEXT.

This displays the ID Set in RESULTS.
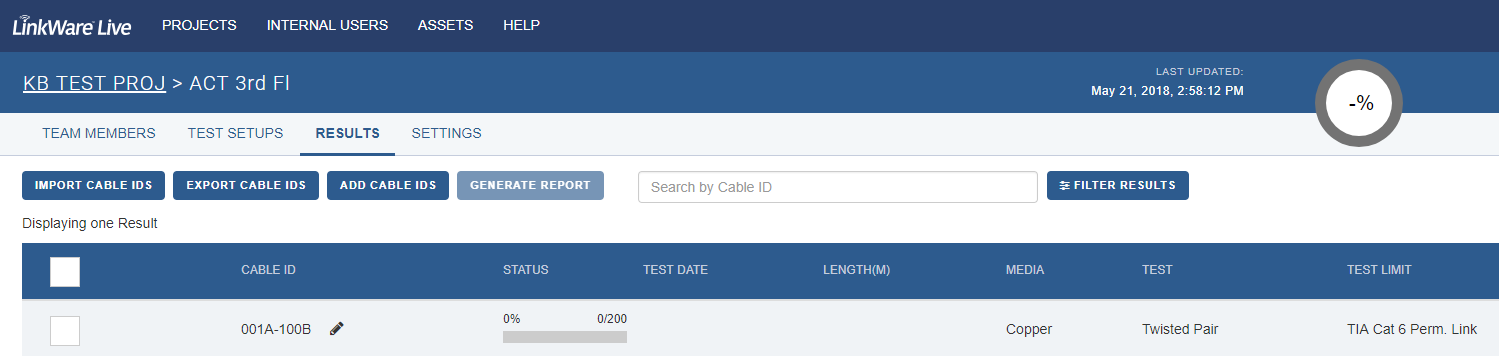
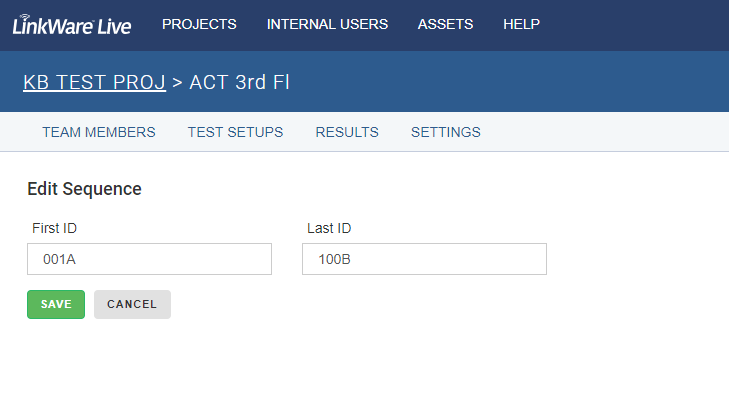
You can click on the pencil icon next to the ID set to edit the sequence.
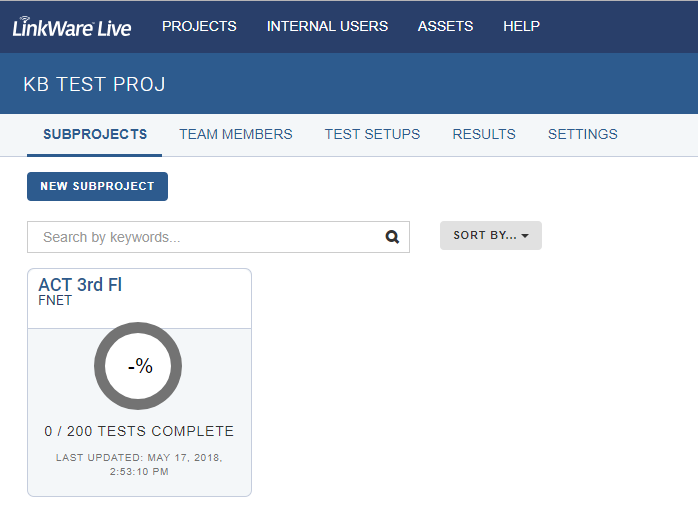
Étape 4 : Double check the Project and SubProject Settings
Review your Project and SubProject and then click TEST SETUPS
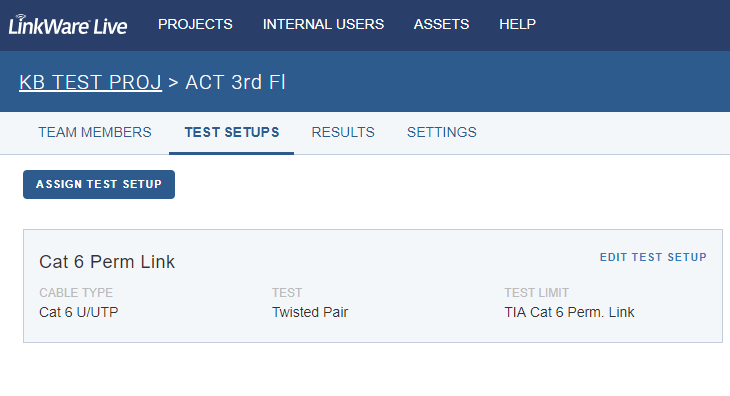
You can click EDIT TEST SETUP to review the configuration.
From this window you can also assign the same Test Setup to other Projects or SubProjects.
After you are satisfied with your Project and Subproject configurations, you are ready to SYNC Versiv to LinkWare Live to import the Project, SubProject, Test Configuration, and ID Set to the tester.
Ces étapes sont maintenant terminées.


